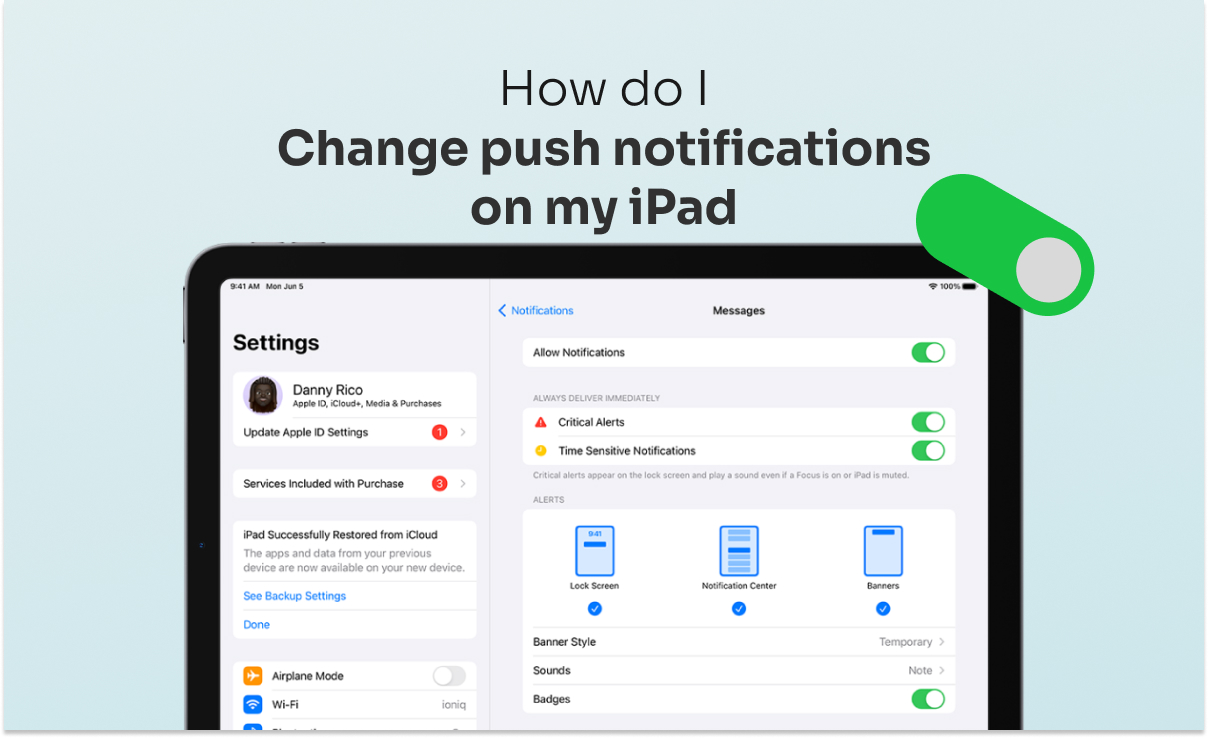
You can enable the toggle for push notifications if you want to stay alert. Once you have toggled on the notifications, you will see them on your lock screen, at the top of your notification center, as banners, and more.
In this article, we cover a detailed guide on how to change push notifications on iPad. If you are someone who is looking for a way to manage your push notifications, then this article is for you.
How do I change push notifications on my iPad
Changing your push notifications on iPad is very easy you just need to go through the below listed steps:
Step 1: Navigate to the Settings tab on your iPad.
Step 2: Next, you need to click on the app option.
Step 3: Now, toggle on the All Notifications from the tab.
Step 4: After this you can see the Change notifications settings on your iPad.
What does push mean on my iPad?
A push notification is a kind of notification which lets you know about any event without even open the app. Like whenever you get any notification from any app let’s say if you get any notification from WhatsApp then it will automatically appear in your lock screen to notify you that you have received a notification.
How to enable push notifications on iOS?
Are you finding a way to know to turn or enable your push notifications on iOS or iPhone, then you have landed at the right place here we have shown various steps to turn the push notifications on iOS.
Step 1: Visit your Settings tab on your iPhone.

Step 2: Next, under the settings tab you can find the Notifications just below the Sounds & Haptics.

Step 3: Here you have to decide that you want to show previews or not? Here you can see the three options that is Always, when unlocked, Never.

Let me explain the above three previews:
Always: It means that you want to enable all notifications to show previews.
When unlocked: It shows that you only want to enable the notifications when the screen is unlocked.
Never: In this option you can be able to view the name of the app that is having notification available.
Step 4: After this you can select the app for which you want to mange your notifications. Each one of the apps on your iPhone is having their own push notifications.

Step 5: Now, simply you have to toggle on the Allow Notifications tab so, that you will continuously receive the push notifications.

Step 6: In this step you are free to choose your preferred alerts that includes:

Lock Screen: If you are allowing this option then you will get to see the notifications on the lock screen.
Notification Centre: In this option you will see the notification when you pull down your notifications.
Banners: You can enable the banner option when you want to get notify.
Where do I find push notifications on my iPad?
You can easily see your push notifications by just simply swiping down from the top your screen.
If you want to see the older notifications as well then you can simply scroll down to see that as well.
How do I turn off push notifications?
Consider these steps to know how you can turn off the push notifications:
Step 1: Go to the Settings app on your device.
Step 2: Scroll down and you can find the option of Notifications.
Step 3: Click on the App notifications and there you can easily toggle off the push notifications option.
Step 4: Select the app for which you want to turn off the notifications.
And you are done, that’s all the steps you need to follow to turn off push notifications.
Does iOS support push notifications?
The answer is yes iOS support push notifications. You can just navigate to the Notifications Center under the Notifications. Go to the settings if you want to mange your notifications.
How do I change my push notification settings?
Step 1: Head to the Settings tab on your device.
Step 2: Find Notifications & Control Center option. Next you can see the App notifications from where you can easily manage the notifications of an app.
Step 3: After, this click on the app for which you want toggle off the notifications.
Conclusion
In this article we have cover the steps on how you can easily manage your push notifications on iOS, iPad or on Android devices.
Please do comment below if you have found this article helpful.

