You might have seen a few accounts adding their location on their Instagram bio. Don’t worry you can add it too! In this article, We will tell you how to add location on Instagram bio.
This helps your online business people to bring them offline. So, When the users click on the link, they will redirect to maps. So, they can find their way to your location without getting lost. But, First, you need to have a professional account, Let’s create one.
How To Create A Professional Business Account on Android
First, You should have an account on Instagram. You can only add a location on your Instagram bio if you have a professional account. Follow our step-by-step guide to create one.
Step 1: Launch your Instagram app.
Step 2: Click on the three lines at the top right corner.

Step 3: Click on Settings and Privacy.

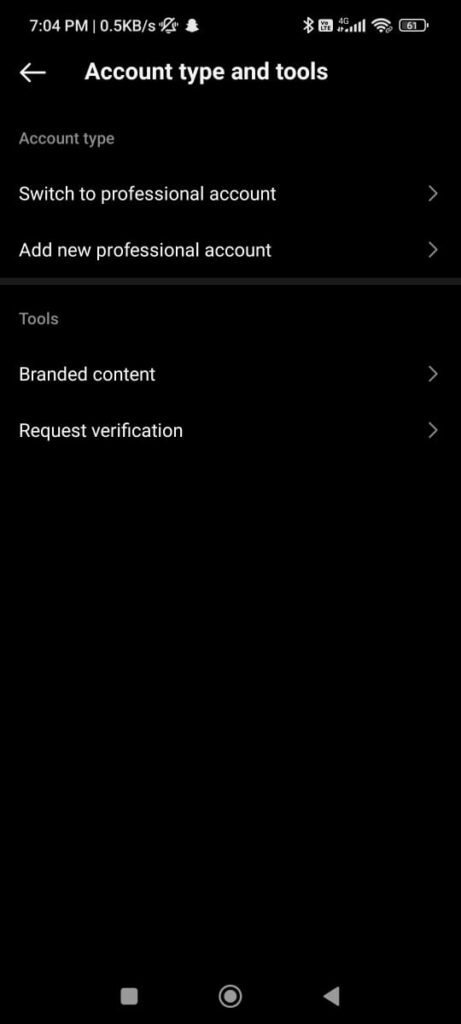
Step 4: Then, Go to Account Type and Tools.

If you already have a professional account, It will show as ‘Switch back to a personal account.’
It will show as ‘Switch to a professional account’ if you don’t already have a professional account.
How To Switch To A Business Account On Instagram (Android)
Step 1: Switch to a professional account and choose What describes you best?
Step 2: At last, Choose Business, Set Up your Professional Account, and complete your profile.

Now, You can add a location to your Instagram bio.
How To Add Location On Instagram Bio on Android
As you have now switched to a business account. Now you can add a location to your Instagram bio.
Step 1: Click on the Edit profile button.

Step 2: Scroll down to Public Business Information and select Contact Options.
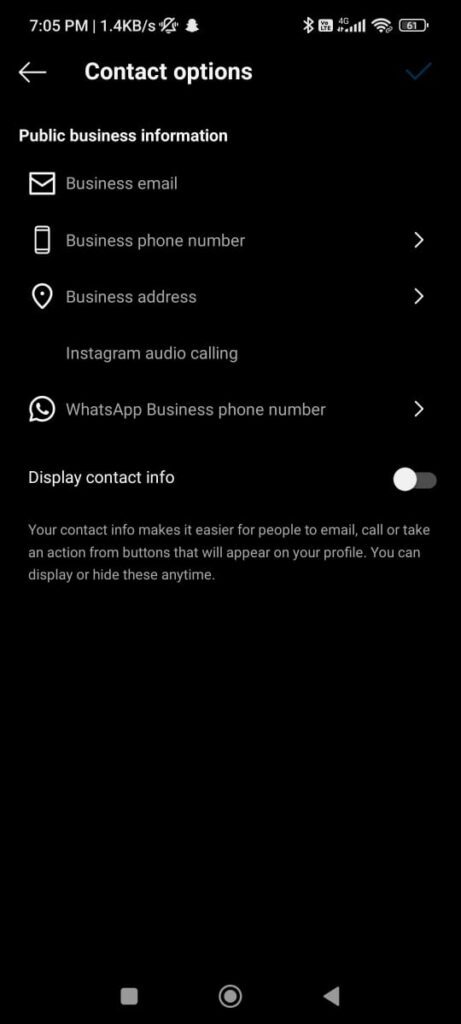
Step 3: Then, Select the Business address.
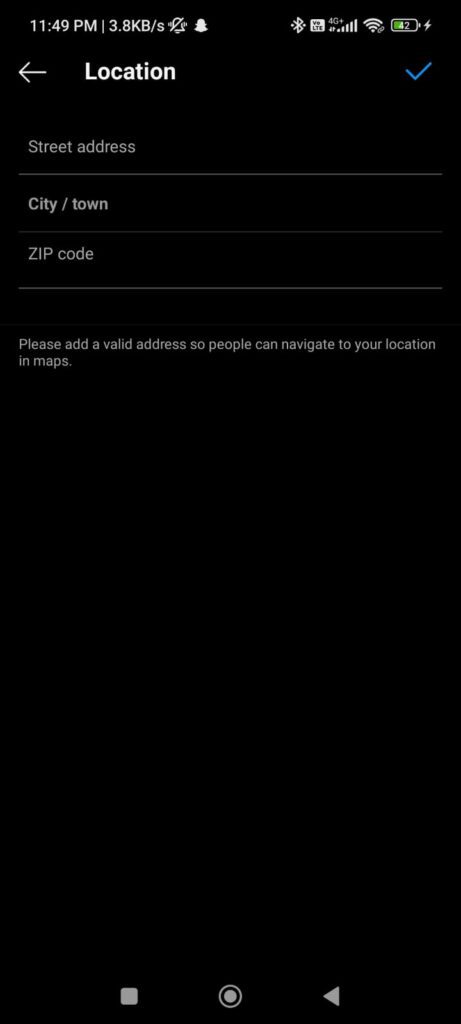
Step 4: Now, Add your Street Address, City/Town, and Zip Code.
Step 5: Click on the save button at the top right corner and it will ask for save again.
You can just add your city or even add your street name and floor and house number. At last, Your location is added to your Instagram bio now. Now everyone can see your location, even those who don’t follow you.
You can change your location in your Instagram bio whenever you want to, Just follow those steps again as shown. Also, You can switch back to a personal account whenever you want.
Bonus Read: How to Find Your Old Bios on Instagram in 2023
How To Create A Professional Business Account on iPhone
You must have an Instagram account. If you have a professional Instagram account only then you can add a location in your bio. To make one, follow our step-by-step instructions.
Step 1: Open your Instagram application.
Step 2: Click the three lines in the upper right corner.

Step 3: Tap on Settings and Privacy.
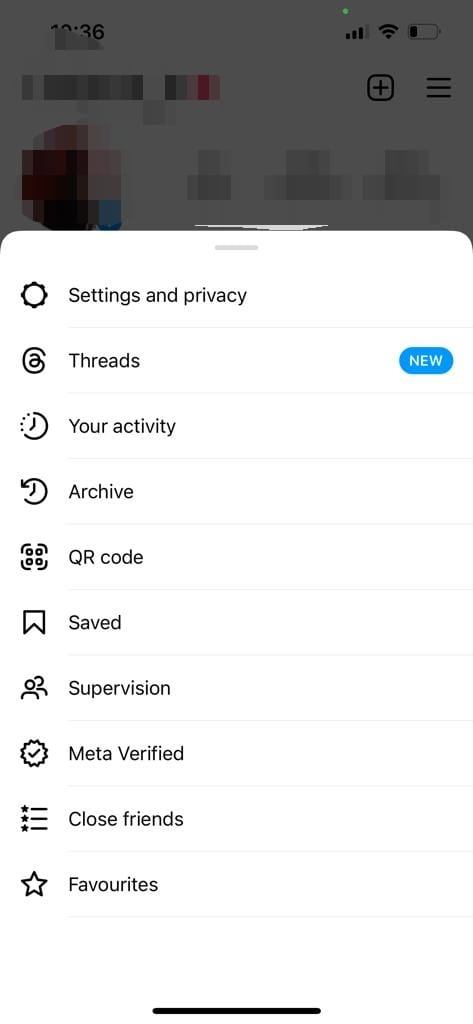
Step 4: Then click on Account Type and Tools.
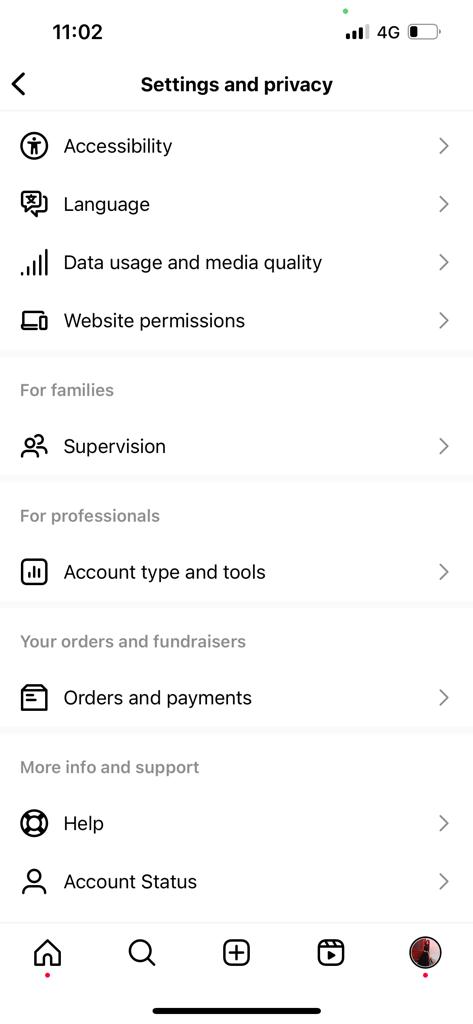
If you already have a professional account, It will show as ‘Switch back to a personal account.’
It will show as ‘Switch to a professional account’ if you don’t already have a professional account.
How To Switch To A Business Account On Instagram (iPhone)
Step 1: Switch to a professional account and select What best describes you?
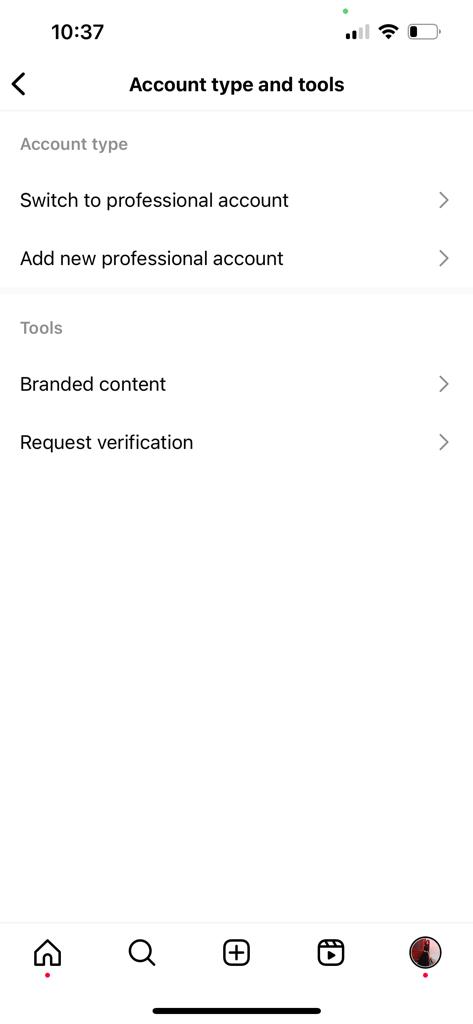
Step 2: At last, Select Business, and create your Professional Account, and complete your profile.

You may now add a location to your Instagram bio.
How To Add Location On Instagram Bio On iPhone
Since you have now switched to a business account. You can now add a location in your Instagram bio.
Step 1: Tap on the Edit Profile button.

Step 2: Scroll down to the Public Business Information section and choose a Contact Option.

Step 3: Then, Choose a Business Address.

Step 4: Enter your street address, city/town, and zip code now.
Step 5: When you click the save button in the top right corner, it will ask you to save again.
Bonus Read: How to Know If Someone Removed You on Instagram In 2023
How To Add Multiple Location Links On Your Instagram Bio On Android/iPhone
We have another way to add locations in your Instagram bio. In this method, You don’t have to switch to a business account. This method will help you add multiple links as much as you want.
To add multiple links in your Instagram bio you need to create a landing page with locations and link it to your Instagram bio. Let the users know that the locations can be seen on the landing page. Here, is how it looks.
Here, we will provide you with a step-by-step guide on how to create a landing page for your Instagram bio and also how to add locations in your Instagram bio. Here, we will use the Taplink tool to create a landing page.
Taplink tool helps to create a landing page with locations to link in your Instagram bio. It allows you to add links to Google Maps and clickable addresses.
You can also add other elements on your landing page to link your Instagram bio, like images, text, and links to instant messengers. Which will help your users to elaborate on each address.
Bonus Read: How to hide Instagram Chats? in 2023 Updated
Frequently Asked Questions (FAQ’s)
How do I add my business address to Instagram?
First, Switch your profile to a professional account. Then, Click on Edit Profile. Beneath Public Business Information, You can add your business address as well as your Business category.
Can you put a location on Instagram?
Yes, You can add a location on an Instagram post but you can only add Existing locations available on Instagram. You can’t add a new location on Instagram. If you have a professional business account, then you can add an address to your Instagram Bio. So, that users will know where your business is located.
Why don’t I have a business address on Instagram?
If you have set your Instagram profile to a private account, then you won’t be able to switch to a business account. So, make sure to set your profile to a public account. Select “Continue As” to link your Facebook Page. If your company’s Facebook Page isn’t shown as an option, make sure you’re listed as an admin in the settings section.

