As in Gmail we don’t have any option or Gmail doesn’t offer any tool for adding tables to your emails. Although, even if you want then you make tables in Google sheets and then move them into your Gmail emails.
Here, we will show you step by step how to add a table to an Email in Gmail”
How It Will Work
Eventually, in Gmail, we don’t have any direct option to add tables to your emails from the compose screen. But, if you want to add tables, then you have to copy tables from Google sheets or any sheets and then paste them into your Gmail. Gmail maintains the original formatting of your table, which means your table will look similar whether it’s in sheets or in your emails in Gmail.
If you want to create tables for your Gmail emails, you can definitely use Microsoft Excel or Google Docs.
How to Add a Table to an Email from the Gmail Website
If you want to add tables from the Gmail website, then On a desktop computer like windows, Mac, Linux, or Chromebook, In this you can make use of web versions of Gmail and Sheets to make or add tables to your emails.
Open Google Sheets in your computer’s browser right now.
If you’ve already generated a spreadsheet, click to open it once you’ve opened the sheet. By clicking “blank” on the website, you can quickly create a new spreadsheet if you haven’t already.
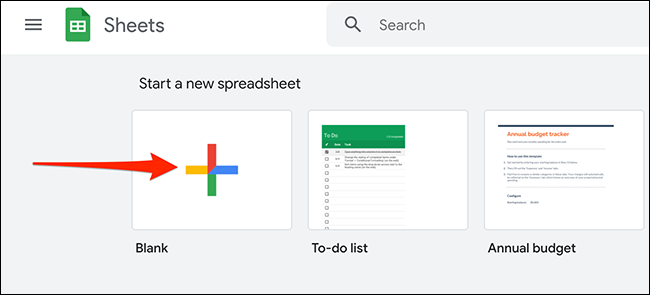
If you want to make a new spreadsheet, then you have to enter your data in the blank spreadsheet which is already opened in your browser. We will make a use of the below spreadsheet for the demonstration:
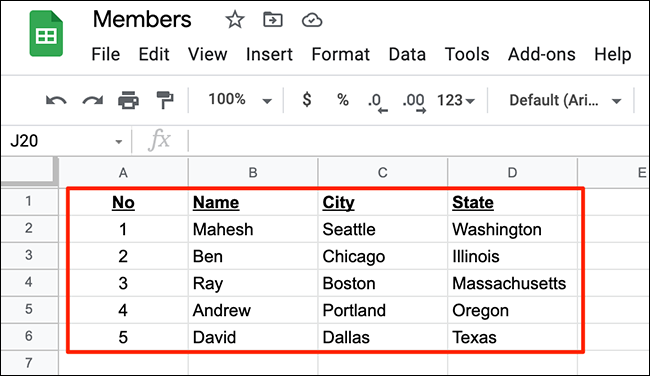
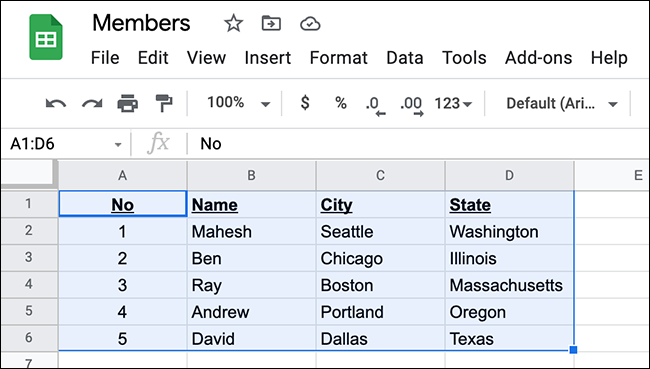
Now, select the areas which contain your whole data in your sheet’s spreadsheet. You can make this selection by using your keyboard or mouse arrow keys.
After you have selected the data, your spreadsheet will look like this:
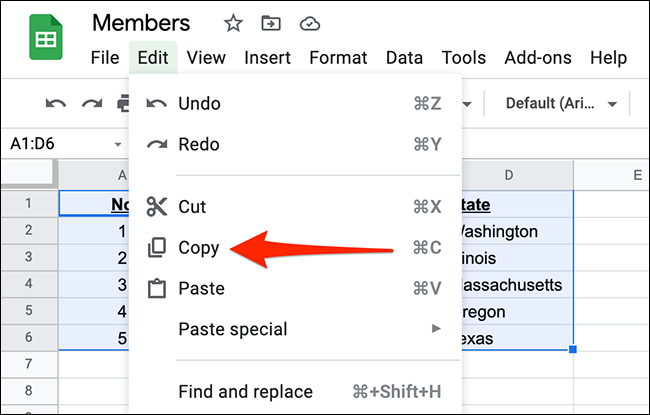
Now, copy the area which you have selected to your clipboard, to do this you have to click on Edit > copy in the sheet’s menu bar. To copy the table, press Ctrl+C on a computer running Windows or Command+C on a Mac.
Now, you have completely copied your table and it’s time to paste it into an email in Gmail. To do this you have to open the new tab in your browser and open your Gmail site, from the top-left corner you will find a section called “compose” click on this to create a new email.

After clicking in the compose, Gmail will open a “New Message” window, in this window you have to right-click on the email body (the largest white box will appear in the window) and now select the paste option from the menu.
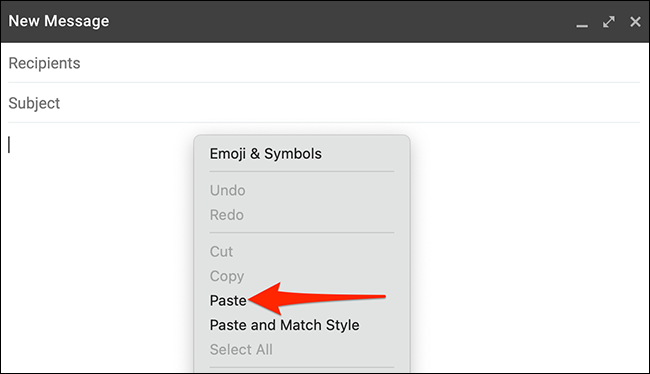
The table which you have copied before from the sheets in now available in your new Gmail email. You could now send the email with the table attached.

Before sending your email, you have to fill in the other fields in your new email window. And this includes the recipient’s address, the subject line, and the email body. Now you are ready to send your email by clicking “Send” at the bottom of the window.

And now your email will be received by the recipient with your table in it!
Bonus Read: How to Add Photos to Google Review in 2023
How to Insert a Table in an Email with Gmail’s Mobile App
If you want to insert a table in a Gmail email from your iPhone, iPad, or Android phone, then with the help of Gmail and Google Sheets app you will be able to do this. These apps’ function work just like their web interfaces.
If you want to use this technique, then you have to download the Google Sheets app on your phone.
In this Sheets app, if you have already made the spreadsheet, then you simply need to open it. If you don’t have any then you have to create a new spreadsheet by clicking on the “+” sign which is in the bottom-right corner of the app.

If you are planning to create a new spreadsheet, then enter the data of your table that you have copied before, now you have to drag the top-left corner of your table all the way to the bottom-right corner. This will choose your table in the spreadsheet.
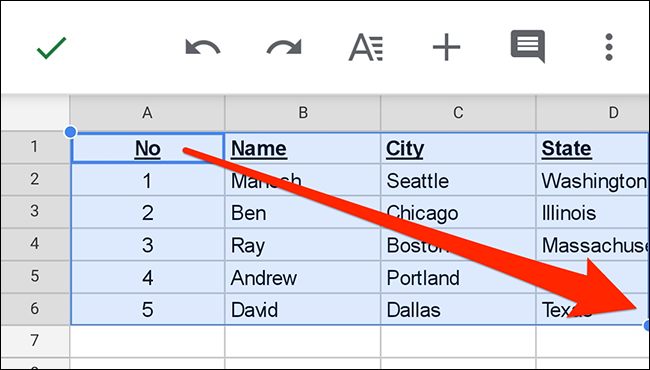
Now, you have to copy the selected table into your clipboard. You can easily do this by dragging and holding on to the table and after that, you will get the option of “copy” from the menu.

Now, you have successfully copied your table.
After that, you can easily paste your copied table into an email in the Gmail app. To do this you have to open the Gmail app on your phone, where you will find an option of “compose” in the bottom-right corner of the app.

Tap on the “compose” button to make an Email.

From the menu, you will get the option and select “Paste.”

However, your Gmail email will now contain the table that you copied from Sheets.
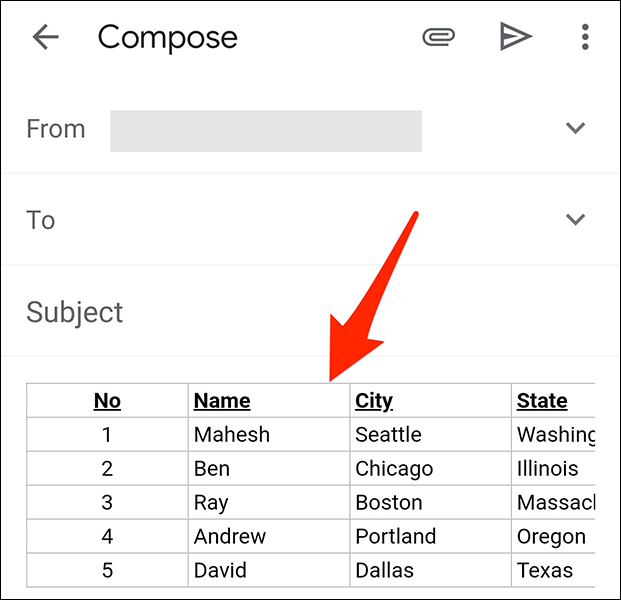
Bonus Read: Top Digital Marketing Courses in Aurangabad
How to Use Google Chrome Extension to Add a Table in Email
If you create tables on a regular basis on your email, then to make your work more convenient by making a table you can definitely make use of this specialized tool “Gmail Tables by CloudHQ” available as a Google Chrome extension. You have to install this Google Chrome extension and now follow the below-mentioned steps to move further.
Step 1: First of all, open your Gmail and tap on “Compose”. Now you have to locate your cursor where you want to insert the table and then tap on the new three dots button which is near the send button, when you tap on the button you will get a popup menu, and there you will get an option to click on Table.
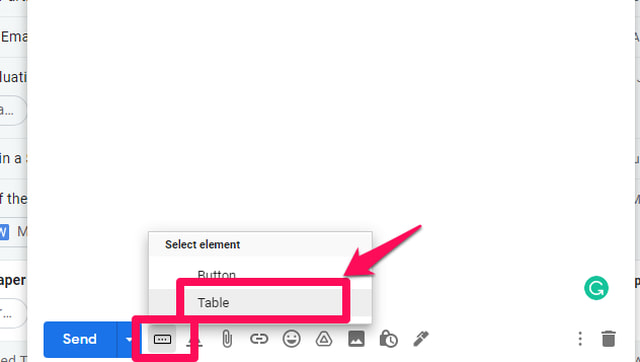
Step 2: After that, you will get an option where you need to choose the size of the table, which means the number of rows and columns, also add headers and their background colors, etc. once you are done with these steps, now you are ready to click on the “OK” button.

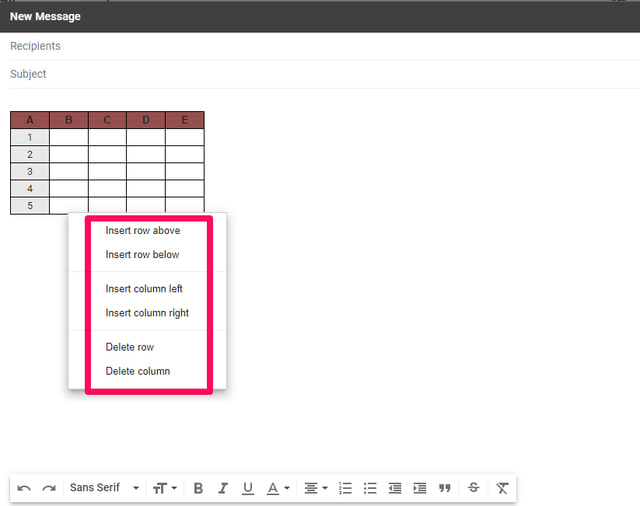
Step 3: Once you have inserted the table, now you can easily start typing the entries in the table. Here, you will get a chance to add or delete columns and rows according to your needs.
Bonus Read: Top Digital Marketing Agencies in Varanasi
Frequently Asked Questions (FAQ’s)
Can you insert a table in Gmail email?
While adding tables to Gmail messages is not officially supported, there are methods available. For instance, you may make your table in Microsoft Excel or Google Sheets before copying and pasting it into your email.
How do you insert a table into an email?
Follow these steps to add a table to a message.
- Click where you want to add a table in your message.
- Click on the insert > Table.
- Now, tap on the table grid to select the no. of rows and columns you want to add to a new empty table. Click insert table for a basic table template.
Why doesn’t tab work in Gmail?
You might have been really confused as to why the “Tab” key didn’t function when you attempted to use it to compose an email in Gmail. Unfortunately, the email platform merely does not support it. You must instead apply a keyboard shortcut to complete the task.

